We’ve seen the growing popularity of do-it-yourself hacks on the Internet with platforms like Pinterest making the most complicated of tasks, simple. Well, we’re here to add another one to the list by taking you through how to set up an epic DIY home studio on a budget. Say goodbye to spending hundreds of pounds on demanding photographers and expensive equipment. You’ll be surprised how you can turn a simple space into your own home studio.
So, grab your camera, even if it’s built into your smartphone, and let’s get started.
You’re probably wondering why you would opt to spend all the effort on a DIY home studio. What if we told you that with our simple tips and tricks it would be no effort at all? If we’ve piqued your interest so far, it’s probably time to continue reading.
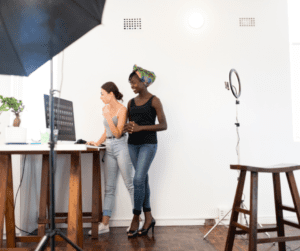
Let’s jump into exactly why you should consider setting up your own studio to create epic content.
Now you’re aware of all the benefits there’s little doubt that you’re itching to get started. Let’s do just that.
It’s time to consider exactly where you want to set up your home studio. Think about exactly what it is you will be shooting and how much space is needed.
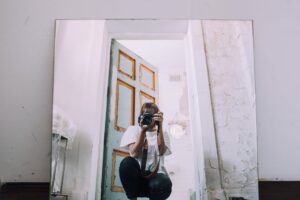
Will you be shooting people? Will it be portraits or full-length fashion shots? What about products? Are your products small enough for flat lays or do they need a large open space? What about that cosy corner in the middle of your lounge? Will that work?
Choosing your space, and how much is needed, is the first step in setting up your home studio.
Tip: Use different areas of your home for different effects if you are trying to tell a story. Think about whether you are wanting all your shots to look in unison or if you can use different spaces to create depth in your images.
No matter where you are, you will always have access to natural light. Unless you live in a cave!
Find the best possible natural light and set up your studio where the best light hits. Natural light gives the image a better indication of colour, detail and creates a more realistic, high-quality image for your content.
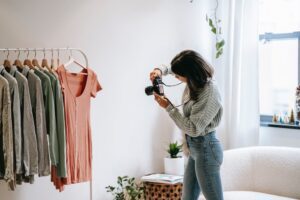
Tip: You don’t have to use natural light in your entire shot. Play around with natural light to create contrast or a moody feel to your images.
Now the real fun begins! Conceptualise and create your dream scene. Here are our top tips on how to do so.
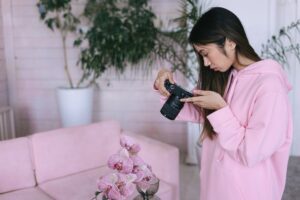
Tip: Use a curtain rod to hang the backdrop to create a sleek, elongated effect with minimal creases. All you need are some clips and duct tape and you’re good to go! We all know none of us got fit during the lockdown. Now you can finally put those gym weights to test and use them to weigh your backdrop down.
Although your natural lighting will be the main source of brilliance, it’s always recommended to have a couple of extra lighting options on hand. Natural lighting is first prize but will only stay in place for a couple of hours and changes as the sun move. With that being said, it may need a little extra help from other sources.
Don’t rush out to buy a spotlight – bedside lamps will do just fine! Use these as a possibility for extra lighting and cover with a thin cloth or paper so the light isn’t too harsh on the subject. Remember to make sure all the bulbs are the same colour so that the lighting looks uniform at every angle.

Tip: Want to add a little something extra to your shot? Instead of expensive gel lighting use assorted colour cellophane to create the same effect.
If you are struggling for natural light and those bedside lights are not quite doing the trick, head over to your local stationery shop!
Use pieces of cardboard as reflectors to bounce light off and illuminate your subject. Use white cardboard if you are wanting a clean, well-lit, bright shot or use a darker one if you want to set an ominous scene and produce shadows.
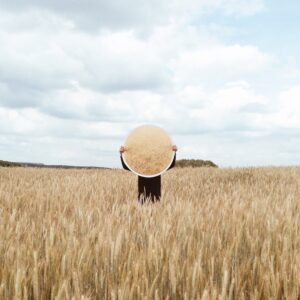
Tip: Is your piece of cardboard just not big enough to create that desired look? Stick two pieces together with tape. Make sure you chose a higher gsm for the pieces, so they are hardy and don’t bend too easily.
When shooting, take into consideration that you should use enough padding on your images in case your images need to be cropped later.
Rather have extra padding on your images, even if it doesn’t look aesthetically pleasing, than having to recreate the shot at a later stage.
Tip: Remember the platform you are shooting for and what your specs are for each of them. Instagram stories are different to Instagram feed images and Instagram feed images may be different to your website. Think about whether you are shooting in portrait or landscape mode.
You know what they say, practise makes perfect. So, don’t just settle for your first good shot. Play around with your subject matter and make sure you have a couple of options to choose from.
Tip: Shoot from different angles with a variety of lighting to see what works best. Sometimes what looks good to the naked eye doesn’t always present well on camera.
Finally, whether you’re using your phone or camera, give your images some extra loving after. There are many free editing programmes out there that allow you to spruce up your images after taking them. Some of our favourites are PhotoScape, Canva and the IOS iPhone editor.
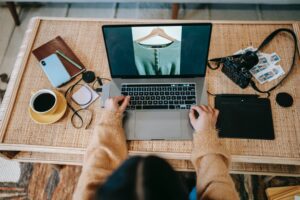
Tip: If you want to create a consistent look and feel for your images, consider using mobile or desktop presets. These help you batch edit your images with a filter and create an aesthetically pleasing look and feel for your brand.
We hope after reading this you’re feeling like a well-equipped, pro photographer and you’re ready to tackle your DIY home studio set up. With our tips and tricks, you can upskill yourself, create engaging epic content and save money while doing so!
Don’t forget to tag us in your creations so we can see how you put our DIY home studio tips and tricks to the test!
For more tips and tricks, keep an eye on our blog page and stay updated by liking us on social media.